Getting Started · Enterprise
How to Set Up Cortex Workspace for Enterprise Users in 3 Minutes
Download, sign in, switch to your organization, and open your first project folder. A streamlined onboarding guide built for enterprise accounts.
Getting Started · Enterprise
Download, sign in, switch to your organization, and open your first project folder. A streamlined onboarding guide built for enterprise accounts.
💡 Not sure which OS version you have? See: How to check your computer's OS version
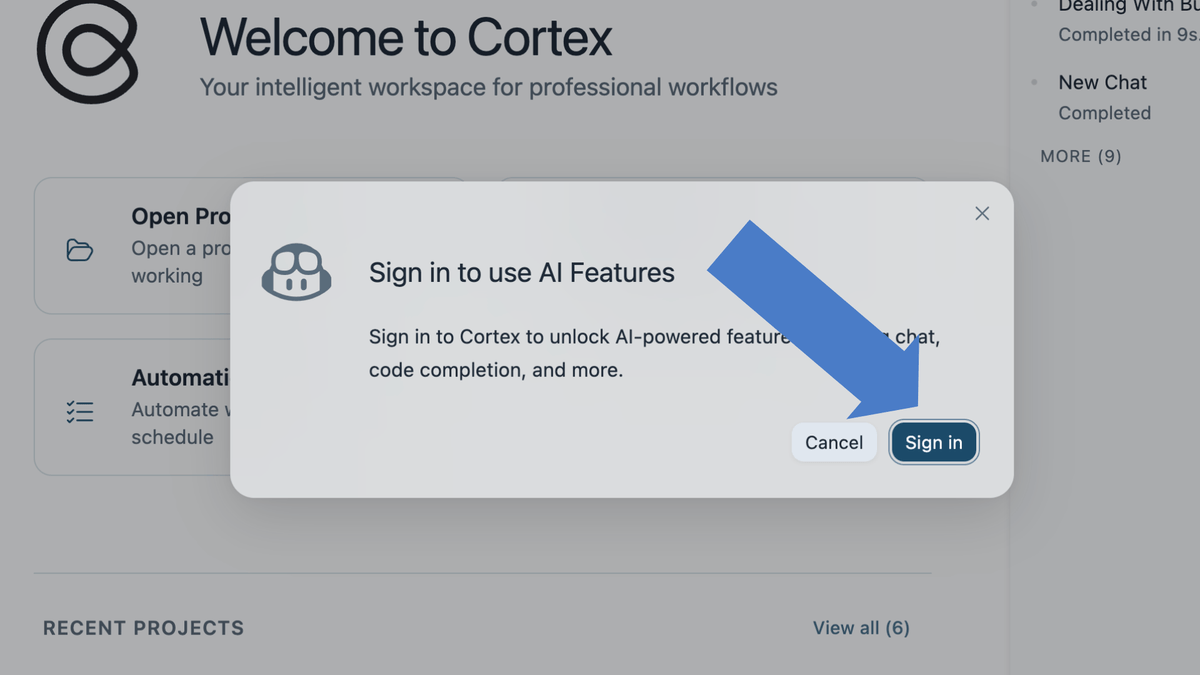
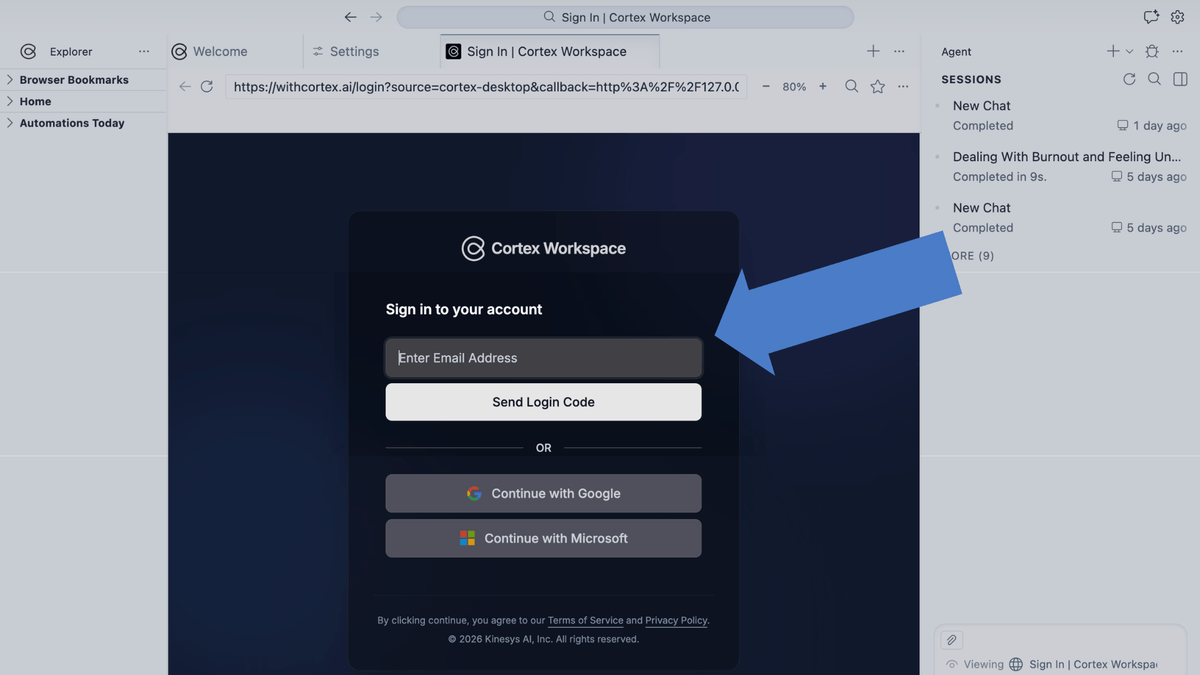
You can open the sign-in window either way:
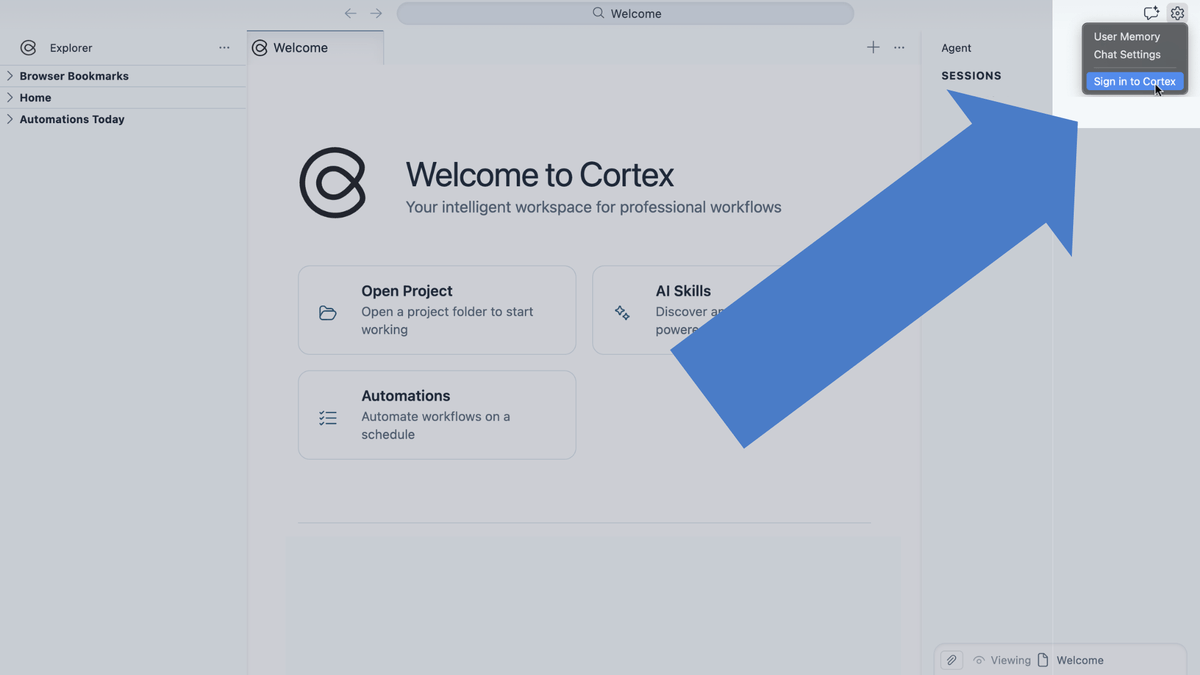
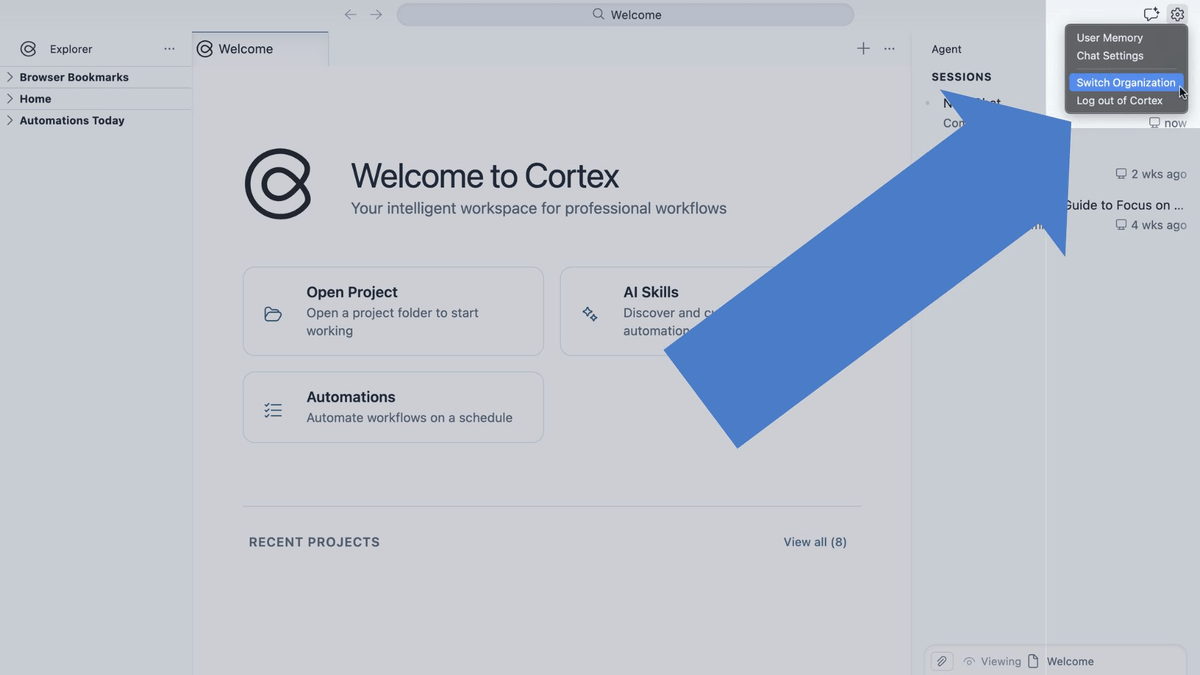
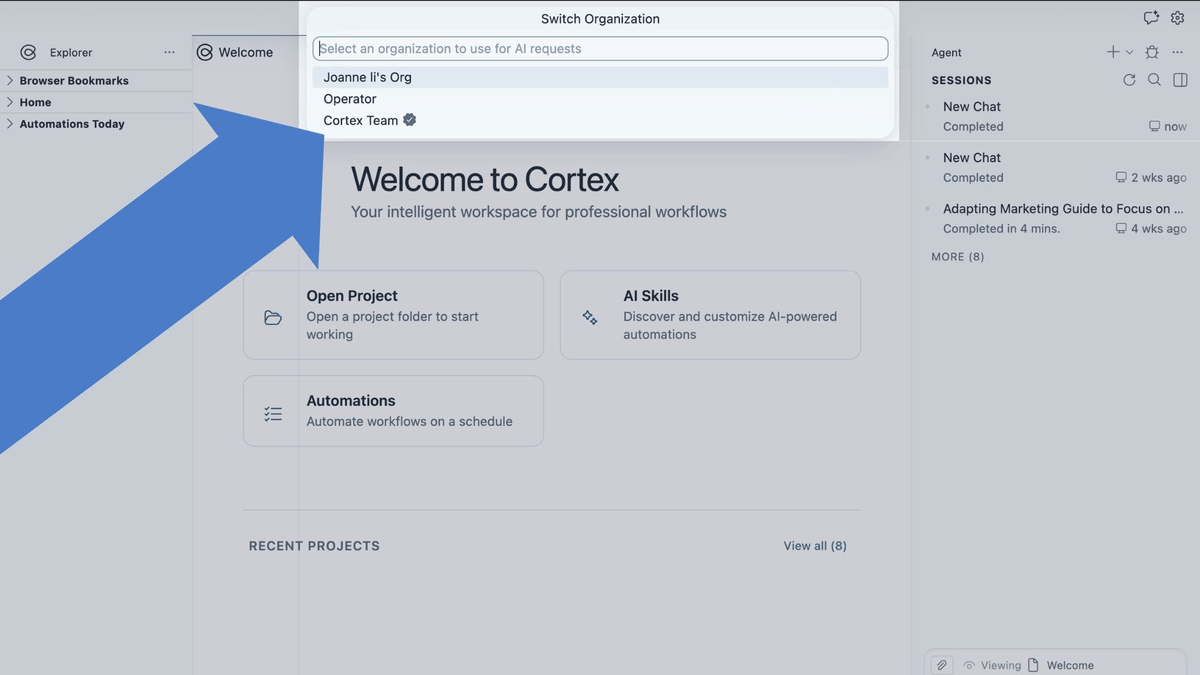
Before you start working, make sure you are connected to your enterprise organization, not a personal account. This ensures your account has enough Credits and helps prevent work from stopping when credits run out.
How to switch:
Click Open Folder... in the center of the screen and select any local folder on your computer.
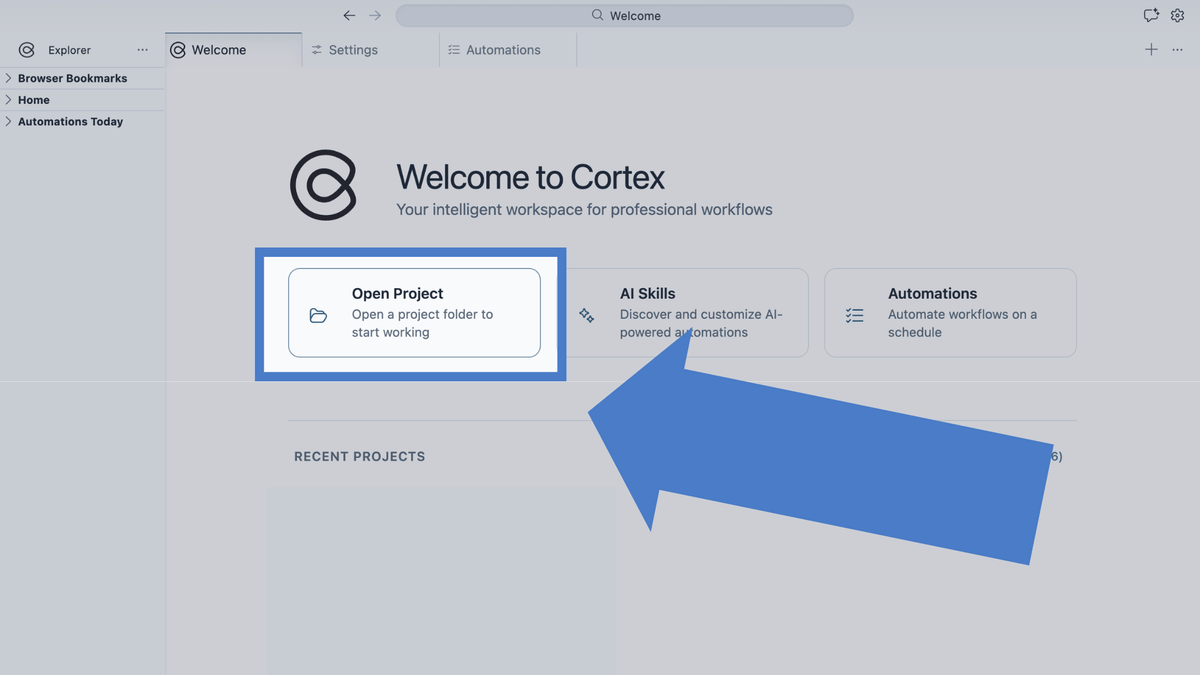
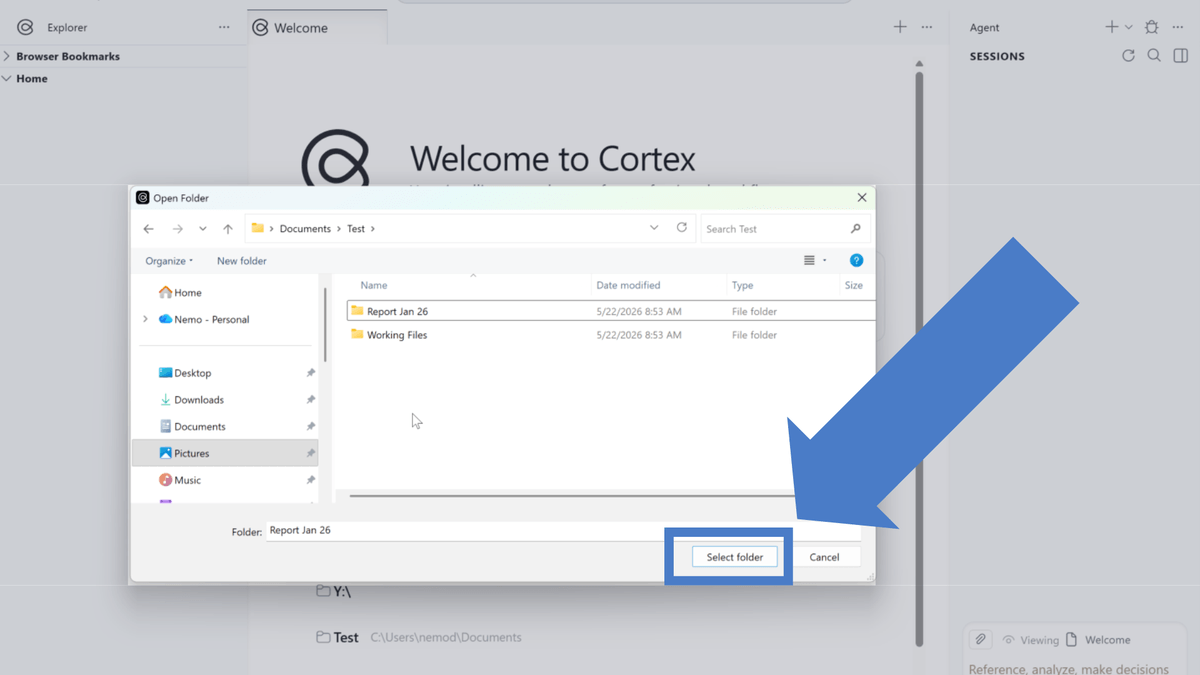
What is a workspace? In Cortex, a "workspace" is a folder on your local computer. Once you select it, every file inside becomes context and knowledge for the AI.
Isolation by design: Like using separate work and personal accounts, Cortex workspaces are fully independent. Tabs, chat history, and files in one workspace never spill into another.
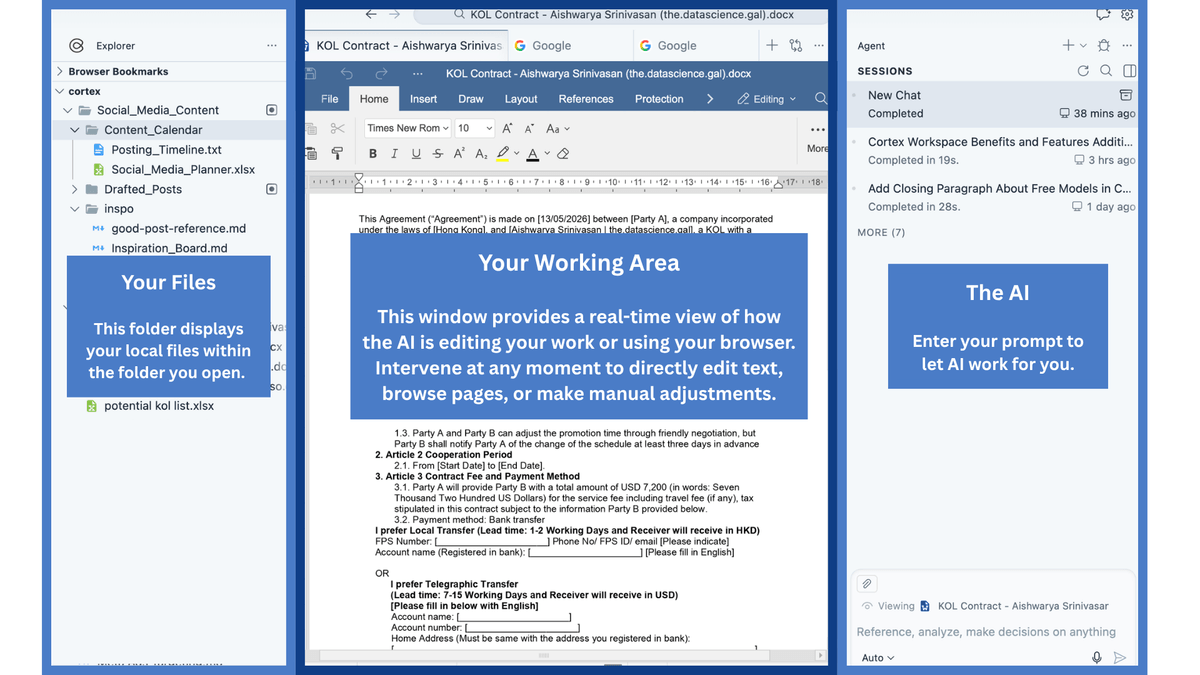
Once your workspace is open, the main interface is organized into three areas:
Like a file explorer on your computer — create, rename, or delete files manually, or ask the AI to do it for you.
No manual uploads: Drop files into this folder and the AI automatically uses them as context. It finds files, reads content, and completes tasks without you dragging and uploading each one.
Privacy (local-first): Cortex reads your local folder directly. All changes save instantly on your device — nothing needs to go to the cloud.
Your core working surface. Whether you're reading documents, browsing the web, or watching the AI automate a task, it all happens here.
Broad compatibility: Open Word, Excel, PPT, PDF, Markdown, and any web page.
Stay in control (human-in-the-loop): When the AI searches, browses, or operates apps, you see every step. Take over, edit manually, or adjust on the fly — like working with a real assistant.
Your dedicated AI assistant. Switch between top models — GPT, Claude, Gemini, Kimi, Deepseek, and more — all included in your Cortex subscription.
This panel also stores chat history for the project. Click the icon marked with a red circle to expand. Because workspaces are isolated, history stays scoped to the current project.
For complex workflows, custom Skills help the AI execute tasks more precisely and efficiently.
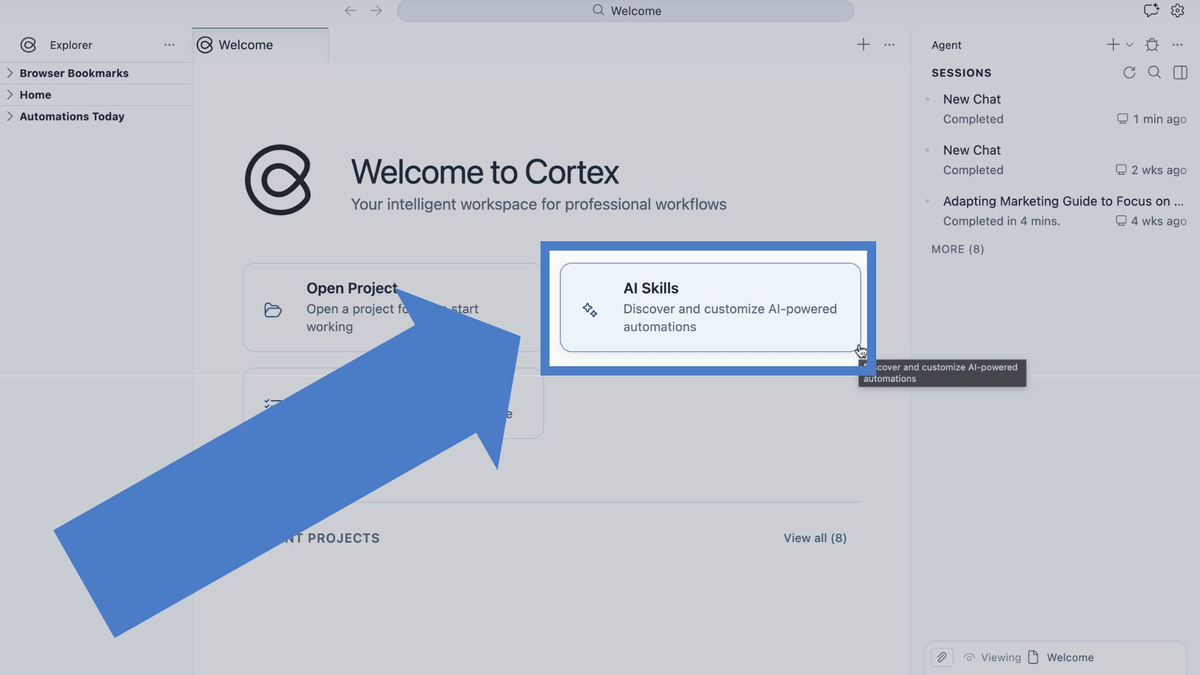
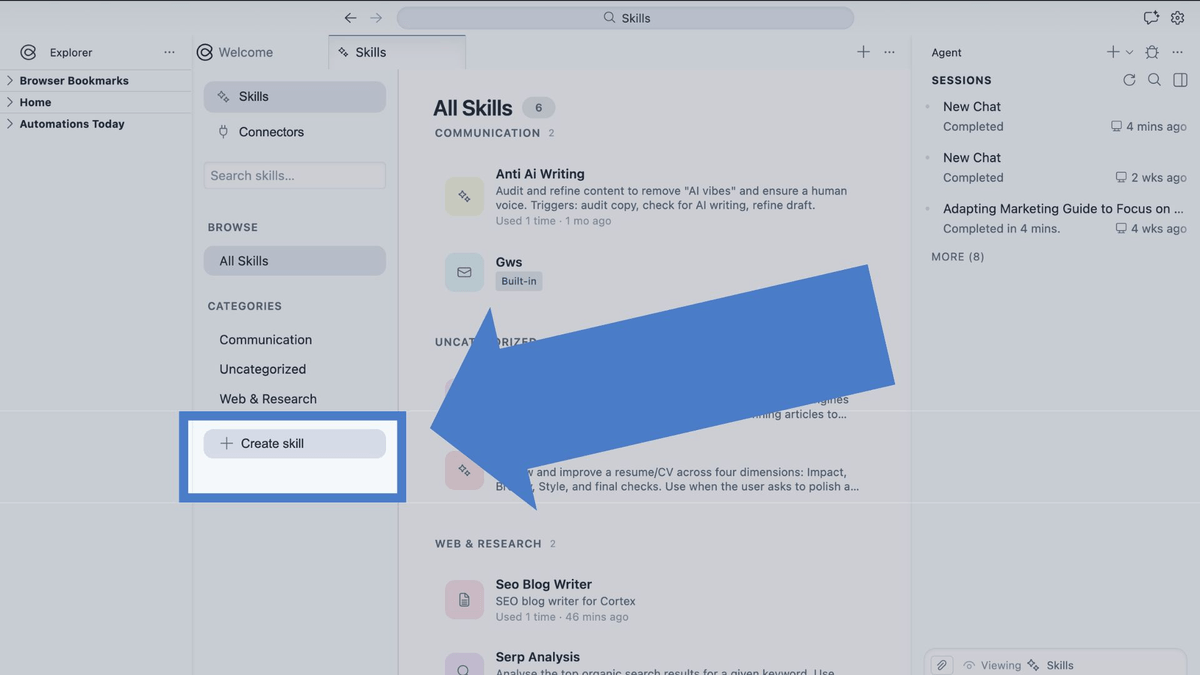
How to get there: On the welcome screen, click AI Skills to open the Skills panel. Manage existing skills or click Create Skill to configure a new one. Cortex offers two quick ways to create skills:
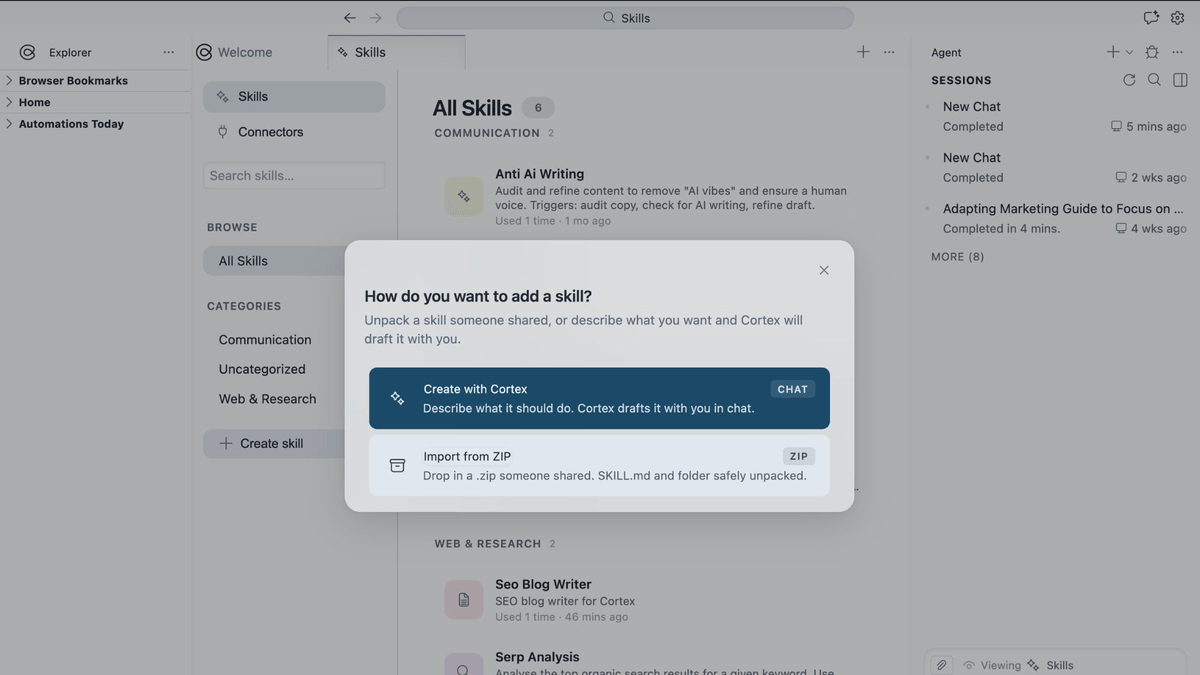
Option 1: Build interactively with Cortex
Describe the skill's purpose and workflow in natural language. Cortex will guide you through creating it step by step.
Option 2: Import a Markdown or ZIP file
If you already have a standardized skill template, import a .md or .zip file for one-click setup.
What sets Cortex apart is how it handles the kind of work that actually piles up. It can process dozens of documents in a single command, works inside the tools you already use every day, and keeps you in control at every step.
Your files never leave your device, and Cortex is SOC 2 Type II certified, so your work stays yours.
Try your first prompt:
"Rename all the invoices in this folder using the format: Vendor Name_Date."
"Go to my Outlook and draft a professional email based on this contract, highlighting the main obligations and deadlines."
"Go through these 30 expense files and create an Excel table with the totals by category."
"Every Monday morning, compile a summary of last week's case notes into a single report."
Want industry-specific workflow automation tips? Read our blog.
If you have any questions during setup, ask the AI in the chat panel or contact our support team.
WhatsApp: +1 (650) 542 6397 Email: support@withcortex.ai
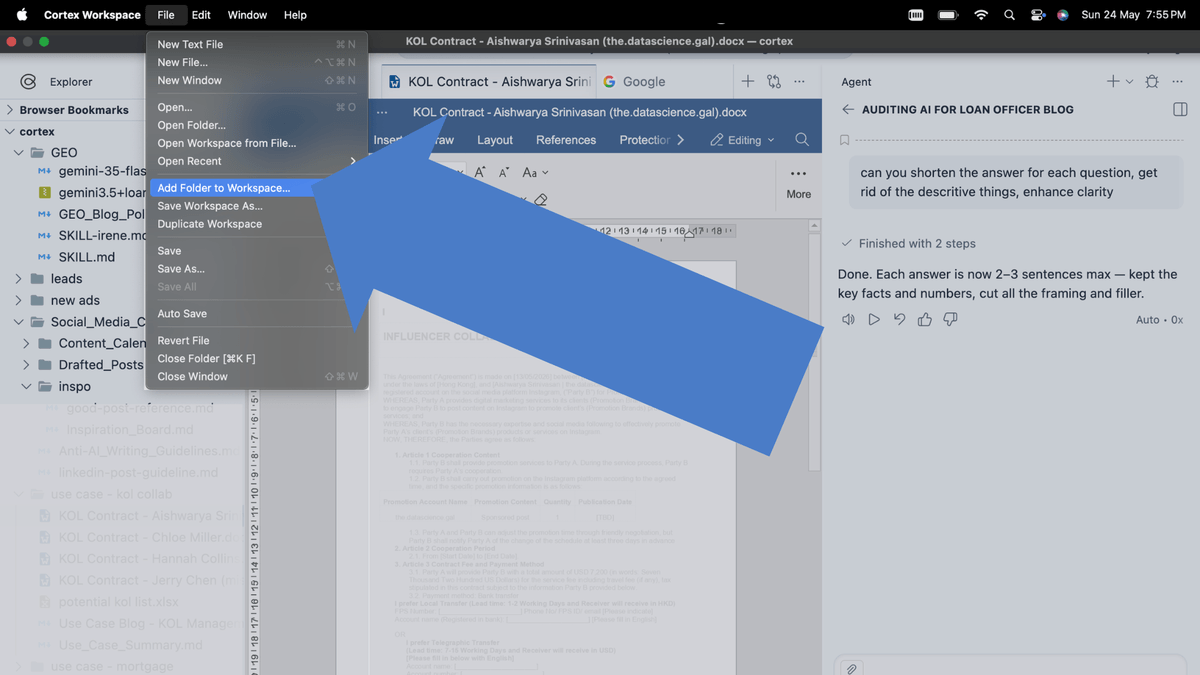
Click File → Add Folder to Workspace in the top-left corner.
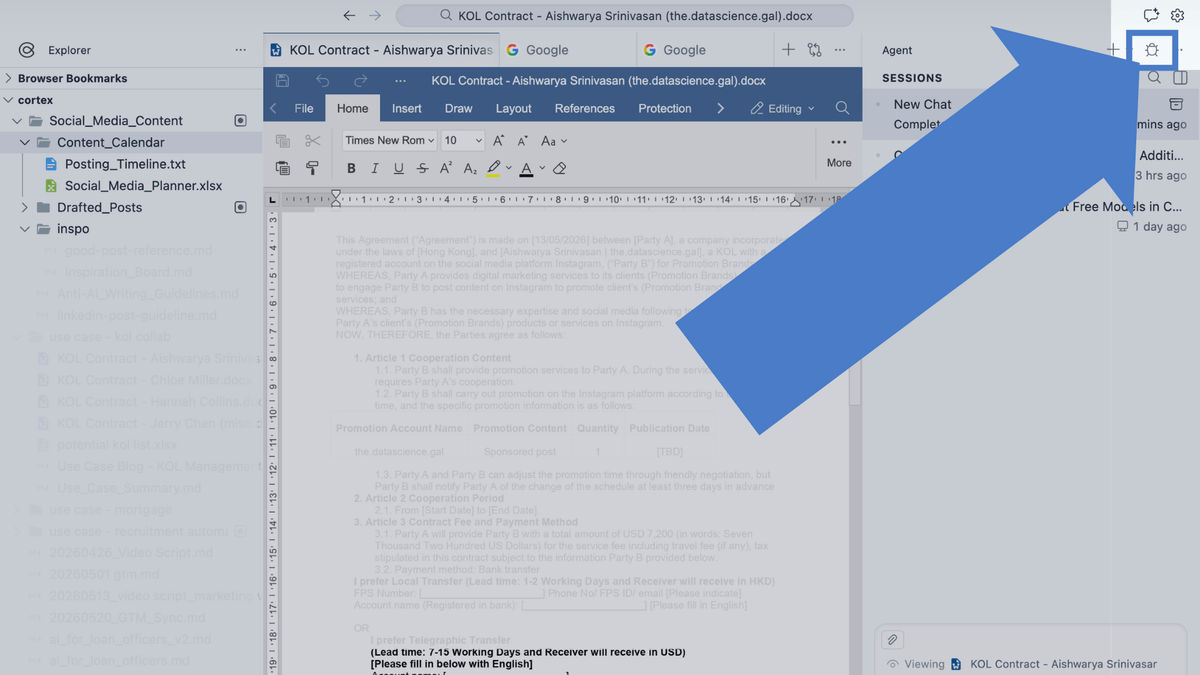
Click the bug icon in the top-right corner.
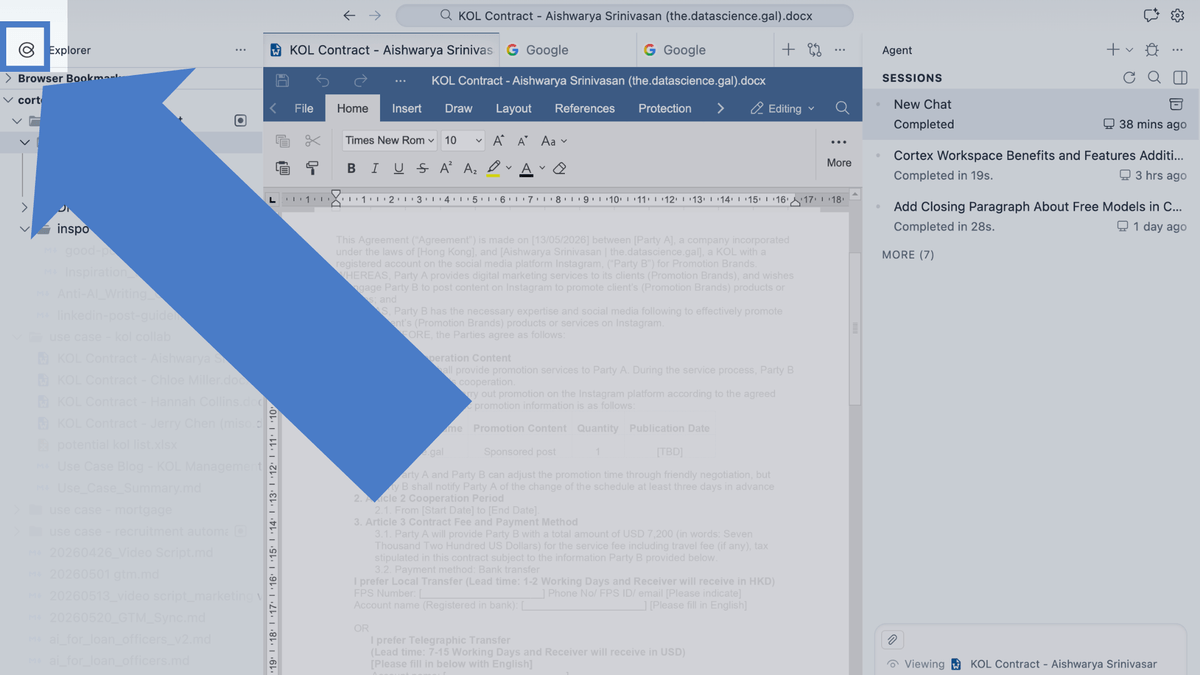
Click the Cortex logo in the top-left corner.
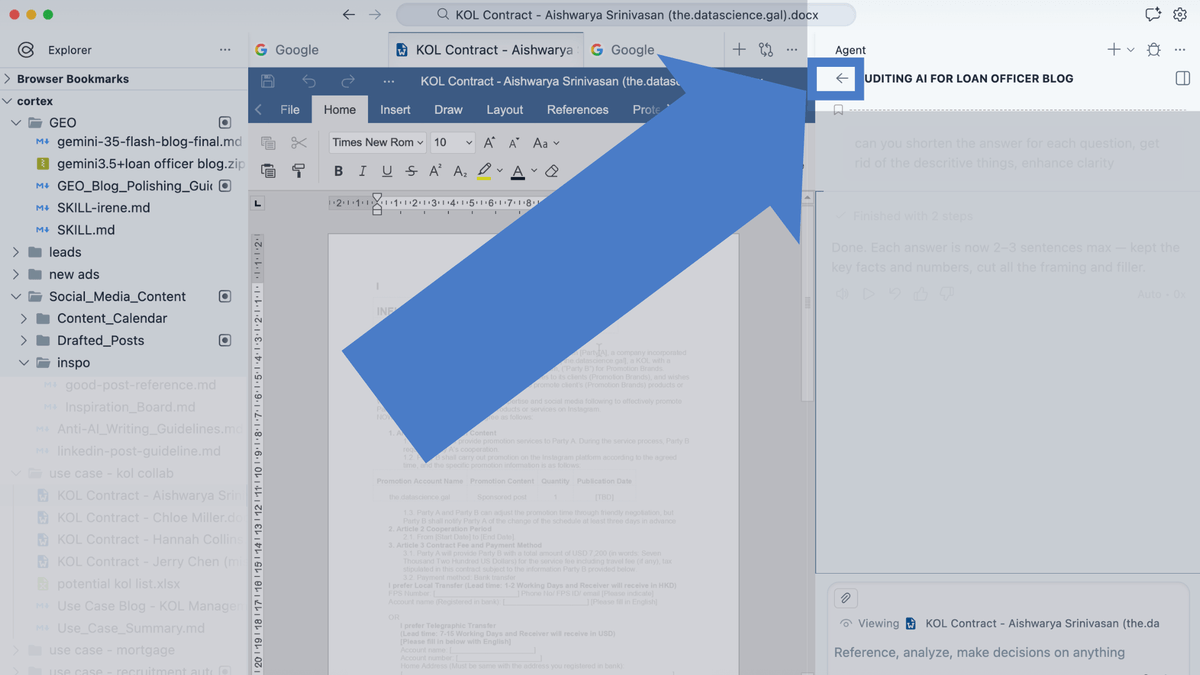
Click the back arrow at the top of your current chat session to view history or start a new conversation.
Note: Because workspaces are isolated, chat history is not shared across projects — you will only see records for the current workspace.
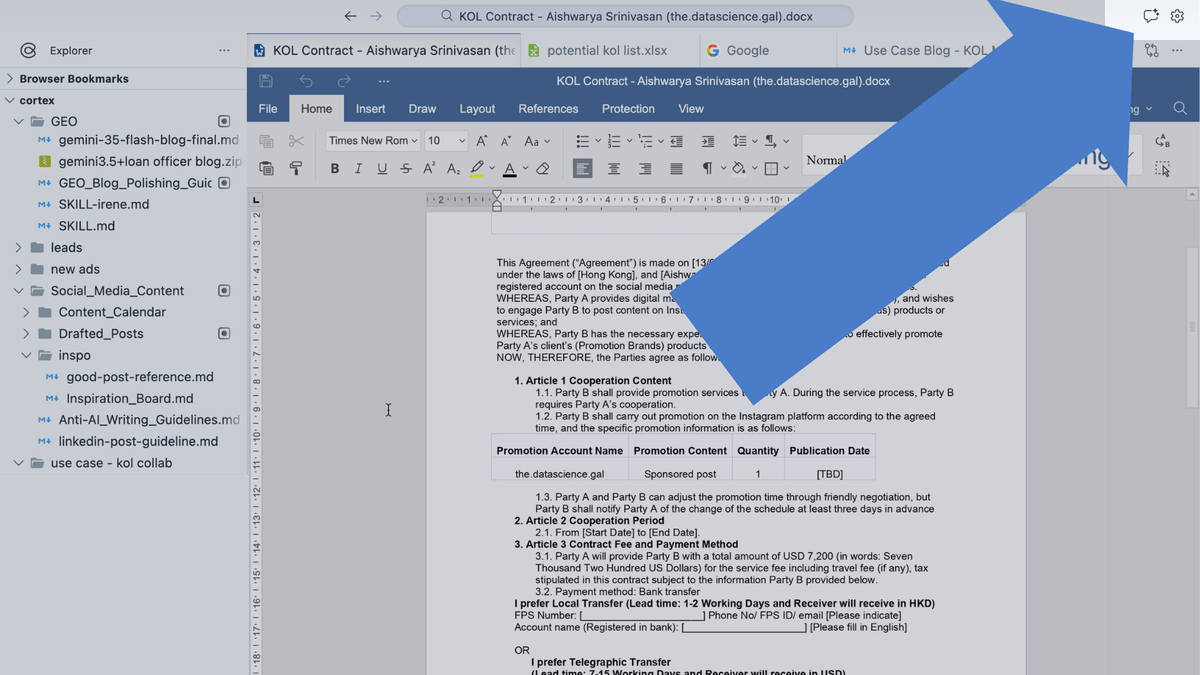
Click the chat button in the top-right corner to toggle the AI panel back open.
Still have questions? Please reach out to our support team for help: